In this article
- Why images become so large
- Dimensions vs file size
- JPG vs PNG vs WebP
- Lossy vs lossless compression
- What quality settings actually do
- A practical compression workflow
- Compressing for specific situations
- The privacy benefits of client-side compression
- Worked examples
- Common mistakes
- Conclusion
- Frequently asked questions
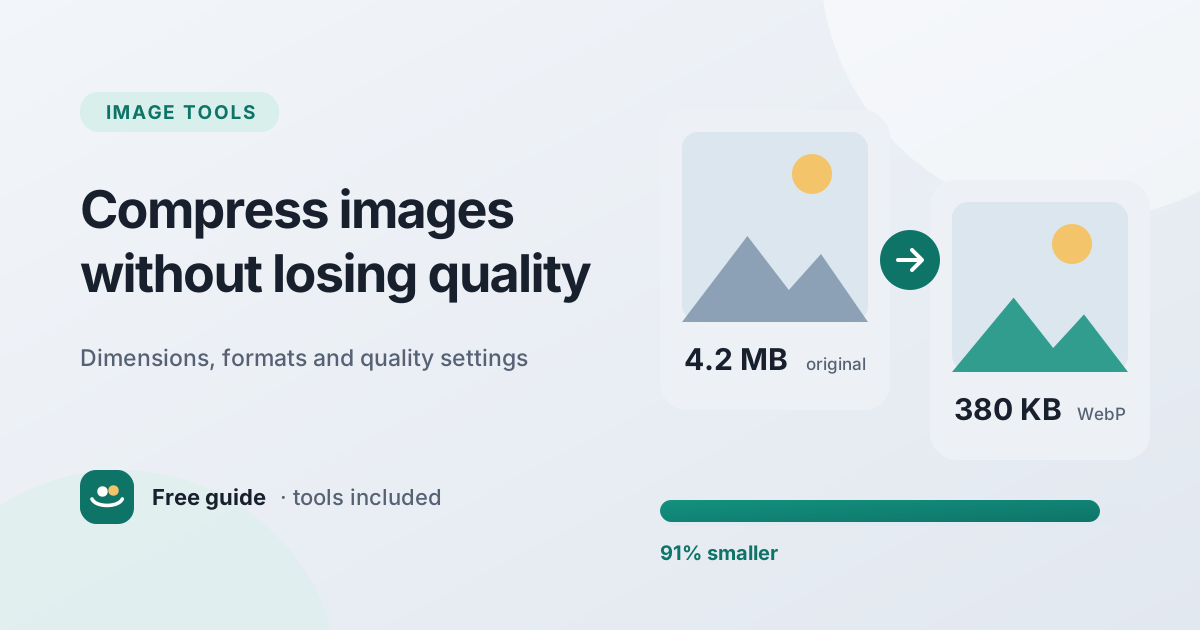
A photo straight from a modern phone is often 3–6 MB and around 4,000 pixels wide. That is ideal for printing a poster, but it is far more than a website, an email or an upload form needs. Oversized images make pages slow, fill up mailboxes, and get rejected by forms with a 1 MB or 500 KB limit.
The fix is compression — but compress carelessly and you get blurry faces, blocky skies and fuzzy text. This guide explains what actually makes image files large, how the main formats differ, what quality settings do, and a step-by-step workflow for getting small files that still look good. You can follow along with the free Image Compressor and Image Resizer, which work entirely in your browser.
Why images become so large
A digital image is a grid of pixels, and each pixel stores a colour. Uncompressed, a colour pixel typically needs 3 bytes (red, green and blue), or 4 if it has transparency. That adds up quickly:
uncompressed size ≈ width × height × 3 bytes
A 4,000 × 3,000 photo has 12 million pixels, so uncompressed it would be about 36 MB. The reason your phone saves it as a 3–5 MB file is that it is already compressed as a JPEG or HEIC. File formats are, at heart, clever ways of describing those millions of pixels in less space.
Two things therefore control file size:
- How many pixels there are — the image's dimensions.
- How efficiently those pixels are encoded — the format and quality setting.
Good image optimisation deals with both.
Dimensions vs file size
These two terms are often confused, but they are different things:
- Dimensions are the width and height in pixels, such as 1600 × 1200.
- File size is how much storage the file uses, such as 280 KB.
Reducing dimensions reduces the number of pixels, and the effect is larger than people expect. Halving both the width and height leaves only a quarter of the pixels:
| Dimensions | Pixels | Share of original |
|---|---|---|
| 4000 × 3000 | 12,000,000 | 100% |
| 2000 × 1500 | 3,000,000 | 25% |
| 1600 × 1200 | 1,920,000 | 16% |
| 1200 × 900 | 1,080,000 | 9% |
Compressed file size does not shrink in exact proportion, but it falls dramatically. That is why resizing is usually the single most effective step: there is no point storing 4,000 pixels of width for an image that will be displayed 800 pixels wide on a web page.
How wide should web images be? A useful starting point is the largest width the image will actually appear on screen, doubled for high-density "retina" displays, then capped at a sensible maximum. For a blog column about 700–800 pixels wide, 1200–1600 pixels is plenty.
JPG vs PNG vs WebP
The format decides how pixels are compressed. Choosing the right one matters as much as any setting.
JPEG (JPG)
JPEG uses lossy compression designed for photographs. It divides the image into small blocks and discards fine detail and subtle colour variations that the eye is least sensitive to. It has an adjustable quality level. JPEG does not support transparency, and it handles sharp edges, flat colours and text poorly — you may see smudgy "halos" around lettering.
PNG
PNG uses lossless compression: every pixel is kept exactly. It excels at screenshots, logos, icons, diagrams and anything with text, and it supports full transparency. The trade-off is that photographs saved as PNG are usually much larger than the same photo as JPEG or WebP. There is no quality slider for PNG, because nothing is thrown away.
WebP
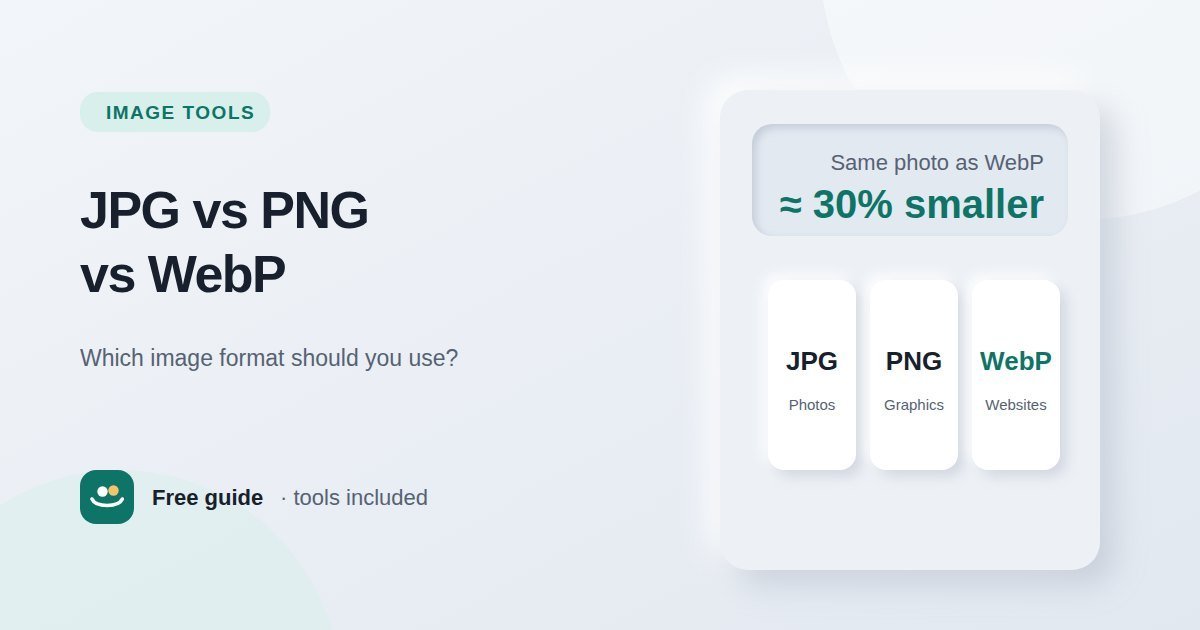
WebP is a newer format developed by Google and supported by all current major browsers. It offers both lossy and lossless modes plus transparency, and at similar visual quality its lossy files are usually noticeably smaller than JPEG. For images on your own website, WebP is often the best default. For files you send to other people or upload to older systems, JPEG remains the most universally accepted.
| JPEG | PNG | WebP | |
|---|---|---|---|
| Best for | Photos | Screenshots, logos, graphics | Photos and graphics on the web |
| Compression | Lossy | Lossless | Lossy or lossless |
| Transparency | No | Yes | Yes |
| Quality setting | Yes | No | Yes (lossy mode) |
| Compatibility | Universal | Universal | All modern browsers; some older software lacks support |
Lossy vs lossless compression
Lossless compression finds patterns and repetition and stores them more efficiently, like writing "20 × blue" instead of listing blue twenty times. Decompress it and you get back exactly the original pixels.
Lossy compression goes further by permanently discarding information judged least noticeable. It achieves much smaller files, but the discarded detail cannot be recovered. That has one important practical consequence: every time you re-save a lossy image, it loses a little more. Always keep your original, and compress from the original rather than from an already-compressed copy.
What quality settings actually do
The quality slider for JPEG and WebP (usually 0–100) controls how aggressively detail is discarded. It is not a percentage of the original quality — it is an encoder setting, and the same number can produce different results in different programs. As a practical guide for photos:
- 90–100: visually almost identical to the original, but files stay large. Rarely worth it for the web.
- 75–85: the sweet spot for most photos. Differences are hard to see at normal viewing size.
- 60–70: noticeably smaller files. Fine for thumbnails and background images; check faces and fine textures.
- Below 50: blockiness, colour banding in skies and smeared detail become visible. Use only when you must meet a tight size limit.
Busy images with lots of fine detail — foliage, gravel, crowds — compress less efficiently than simple scenes with smooth areas, so the same quality setting can produce very different file sizes.
A practical compression workflow
- Start from the original. Use the highest-quality version you have, not a copy downloaded from a messaging app or social network.
- Decide the display size. Where will the image appear, and how large? Choose a target width (for example 1600 px for a full-width web image, 1200 px for a blog column, 600–800 px for an email).
- Resize. Use the Image Resizer with "Keep proportions" ticked and enter your target width. The height follows automatically.
- Choose the format. Photo for your website → WebP. Photo to share or upload elsewhere → JPEG. Screenshot, logo or graphic with text → PNG, or WebP at high quality.
- Compress. Open the Image Compressor, start at quality 75–80, and compare the before and after previews.
- Check the details. Zoom in on faces, edges and any text. If it looks fine, try a slightly lower quality; if you see artefacts, go up a step.
- Download and name it well. A descriptive, lowercase file name such as
blue-ceramic-mug-front.webpis easier to manage thanIMG_4821.webp.
The Image Compressor also has an optional maximum-width setting, so for simple jobs you can resize and compress in one step.
Compressing for specific situations
Website and blog images
Images are frequently the largest files on a web page, and large images slow down loading, especially on mobile connections. Page speed also affects how people experience your site, and Google's Core Web Vitals include Largest Contentful Paint, which is often an image. Resize to the display width, use WebP where possible, and include width and height attributes in your HTML so the page does not jump around as images load.
Email attachments and upload limits
Many email services limit total attachment size to somewhere around 20–25 MB, and many forms accept far less — 2 MB, 1 MB, or even 200 KB for ID photos. To hit a specific limit, reduce the width first (1600 px is usually enough for viewing on screen), then lower the quality in steps of five until the file fits.
Product photos
Shoppers zoom in, so product images need more detail than a typical blog photo. Keep them larger (often 1600–2000 px on the long edge) and use quality 80–85. Check the marketplace's own image guidelines, since many have minimum dimensions.
The privacy benefits of client-side compression
Many online compressors upload your image to their server, process it there, and send it back. That means your photo — possibly showing your home, your family, a document or your location — sits, at least temporarily, on a computer you know nothing about.
Client-side tools work differently. Our Image Compressor and Image Resizer use your browser's built-in canvas feature to decode, resize and re-encode the image on your own device. Nothing is uploaded. As a bonus, the re-encoded copy does not carry the original's EXIF metadata, which on phone photos can include the exact GPS location where the picture was taken.
Worked examples
A 4032 × 3024 phone photo needs to appear in a blog layout about 800 pixels wide. Resize it to 1600 × 1200 (enough for high-density screens), then save it as WebP at quality 75. Because the image now has 16% of the original pixels and uses a more efficient format, the result is typically a small fraction of the original file size, and at normal viewing size it looks the same.
A 2560 × 1440 screenshot of an app interface contains text. JPEG at quality 70 would blur the lettering. Instead, resize to 1600 px wide and keep it as PNG, or use WebP at quality 90 or higher. Text stays crisp and the file is still much smaller than the original capture.
Common mistakes
- Compressing an already compressed image repeatedly. Quality degrades each time. Keep and reuse the original.
- Saving photos as PNG. This often makes them several times larger with no visible benefit.
- Using JPEG for logos and text. Sharp edges pick up blurry artefacts. Use PNG or WebP.
- Relying on quality alone. Dropping quality to 40 on a 4000-pixel image is worse than resizing it to 1600 pixels at quality 80.
- Enlarging small images. Scaling up cannot add detail; start from a bigger original if you need a larger image.
Conclusion
Compressing images without ruining them comes down to doing things in the right order: start from the original, resize to the size you actually need, choose the right format for the content, and use a moderate quality setting while checking the result. Resizing does most of the heavy lifting; quality settings fine-tune it. Try the workflow with the Image Resizer and Image Compressor — your images never leave your device.
Frequently asked questions
Can I compress an image without losing any quality?
Yes, with lossless compression, such as PNG or lossless WebP, but the savings are smaller. For photos, a lossy setting around 75–85 usually gives a much smaller file with differences you are unlikely to notice.
What is the best format for website images?
For photos, WebP usually gives the smallest files at good quality and is supported by all modern browsers. Use PNG or high-quality WebP for graphics with text or transparency.
Why did my compressed image get bigger?
If the original was already heavily compressed, re-encoding at a high quality setting can add data. Converting a photo to PNG also increases size. Lower the quality, choose WebP or JPEG, or keep the original.
Does resizing an image reduce its file size?
Yes, usually by a lot. Fewer pixels means less data to store. Halving the width and height leaves a quarter of the pixels.
Is it safe to compress private photos online?
Only with tools that process images locally. Our image tools run in your browser and never upload your files.